Essential bike maintenance can be daunting at first, but with the right kit and knowhow it can be both rewarding and liberating. We caught up with Gary Curtis from cycle-mechanic.co.uk to discuss performing an M check.
An M-check is the recommended safety check you should perform on your bike to ensure it's road worthy and to to reduce the risk of roadside issues.
Gary has acquired a wealth of maintenance knowledge over the last 20 years so we were excited to hear some of his top tips...

It is recommended you give your bike this check fairly regularly to ensure that nothing goes wrong while out on the road. An M check is quick and easy which can help you identify any issues with your bike before you take it out riding. Gary was kind enough to help us film this video showing how to perform an M check. This blog will breakdown the M-check, making it easier to perform on your own bike.
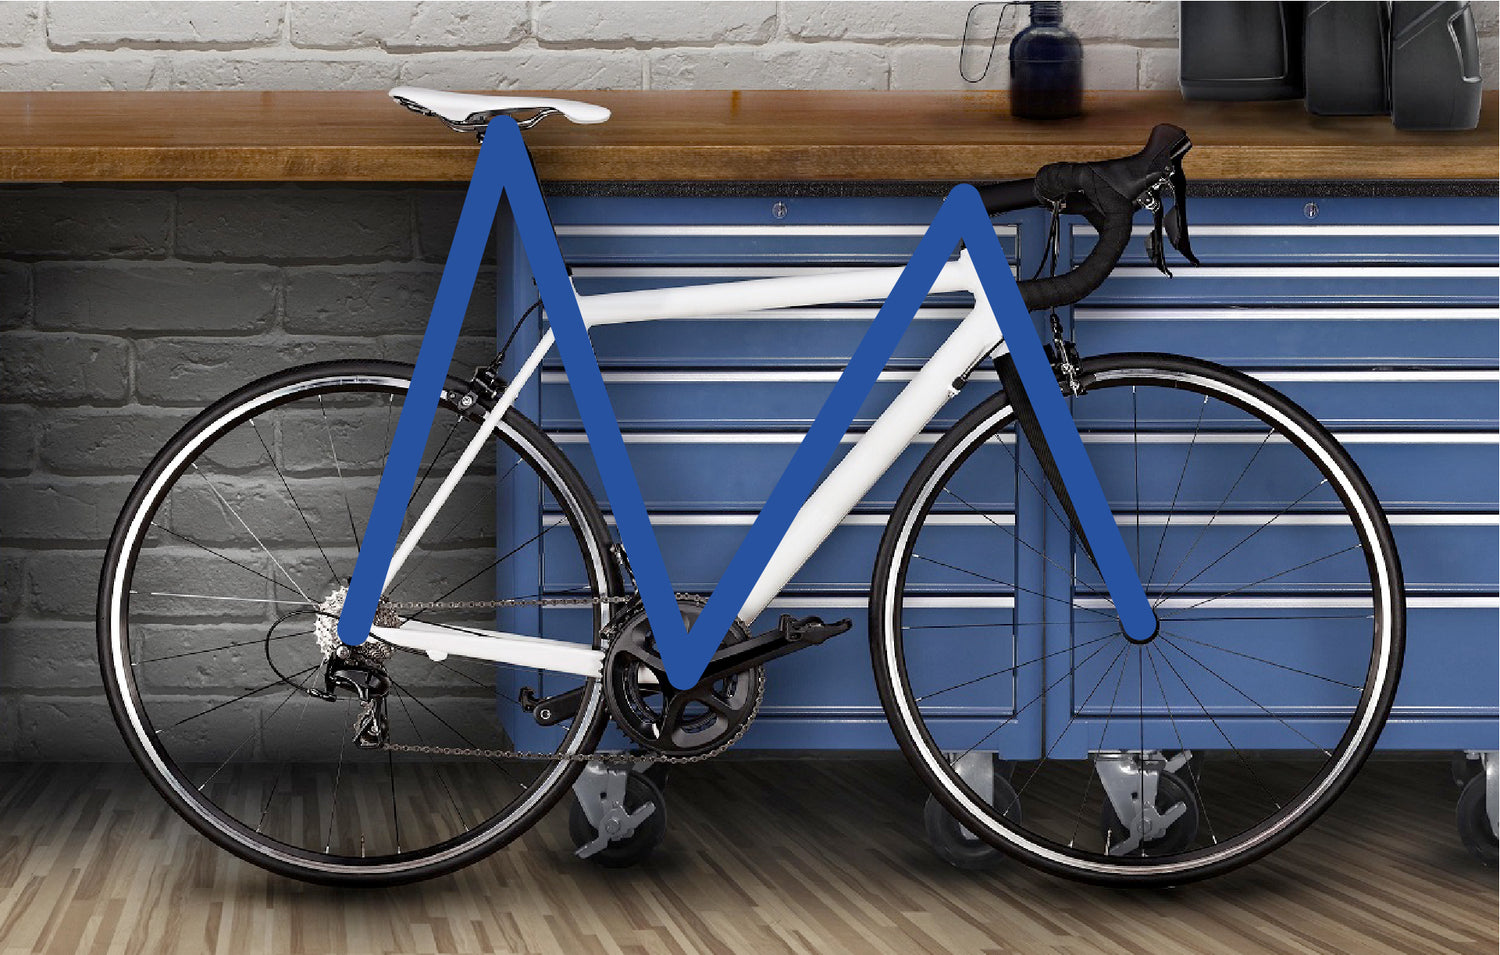
An M check only takes about ten minutes of your time, and is definitely worth doing to save you time in the long run. The M check gets its name as it describes the shape of the bike in how you’ll be checking it. This starts with the back wheel, up to the seat/seat post, down to the chainset and up to the front of the bike.
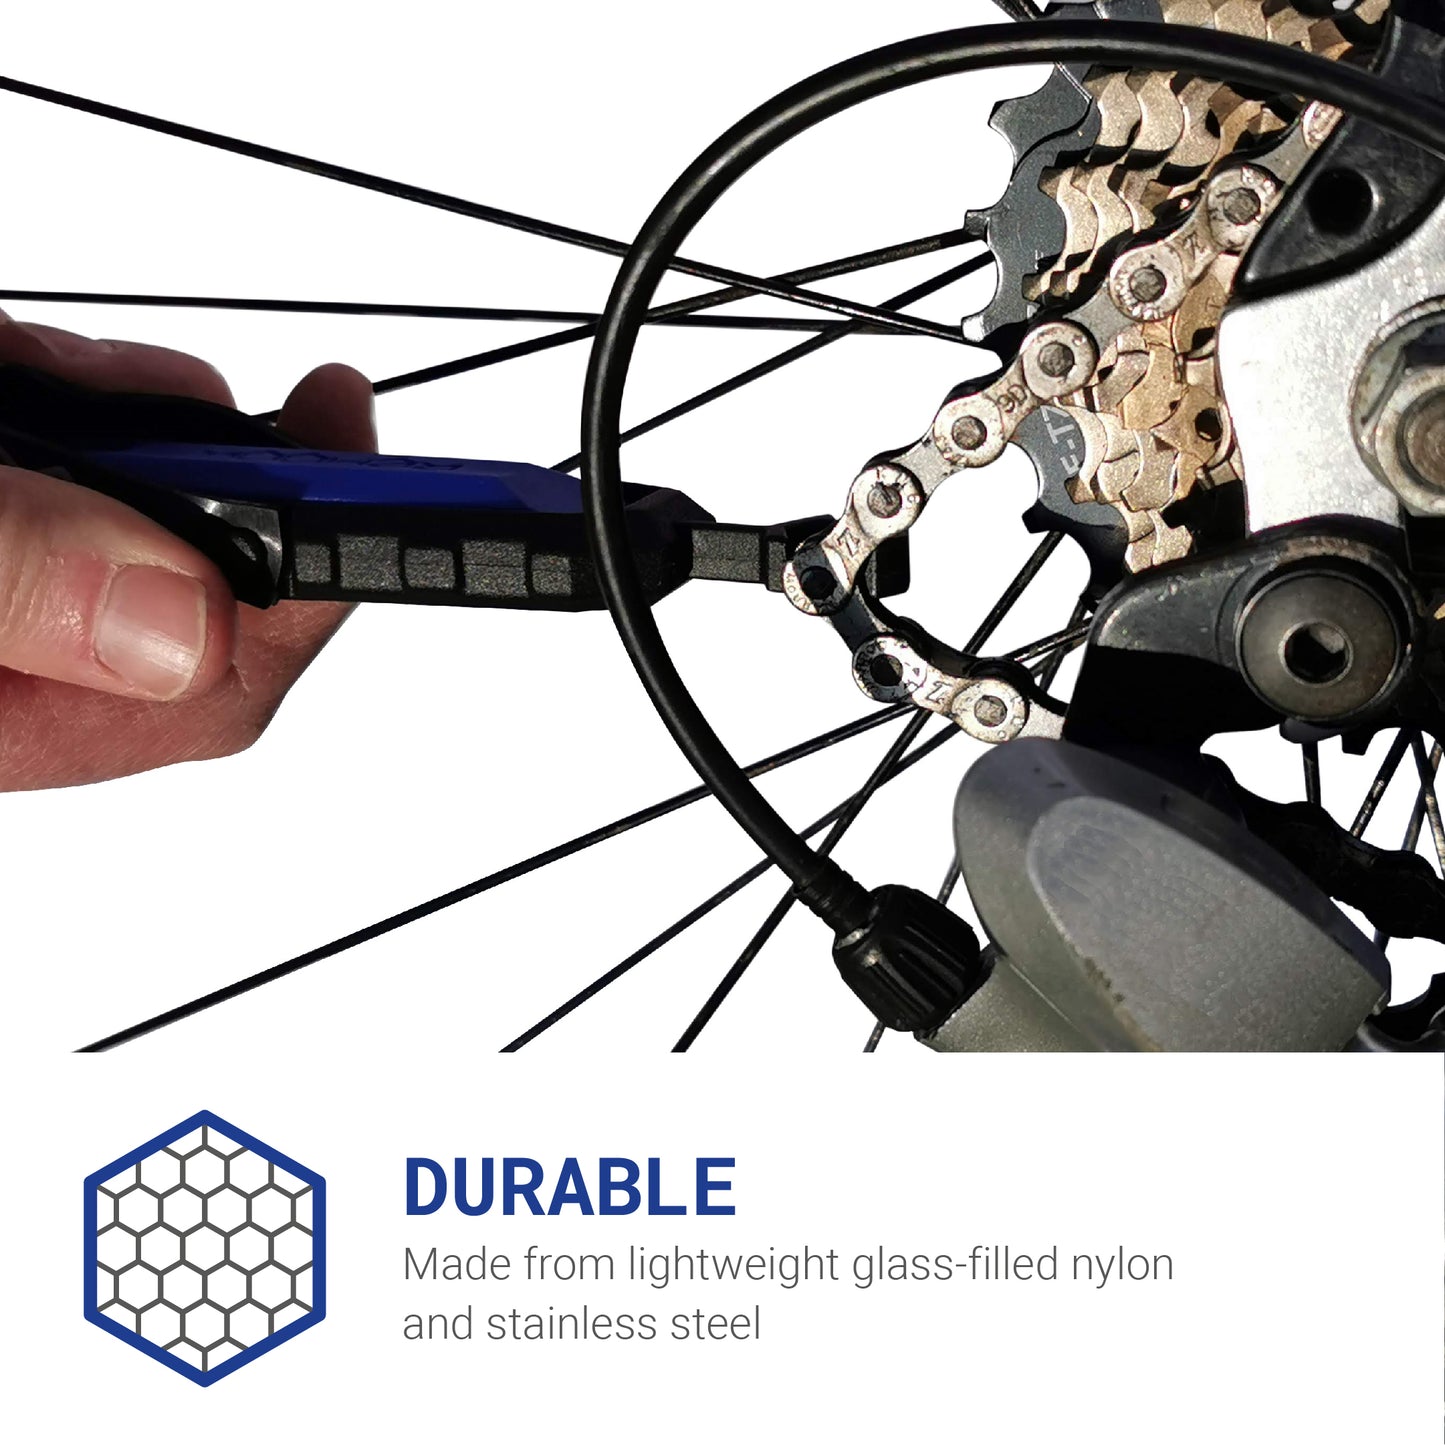
Starting from the rear wheel, you want to check the pressure of your tyre and the condition it is in. If your pressure is too low or too high you’re going to have a rough time on the road, and if there is a puncture of some other issue you definitely need to fix that as soon as possible. Make sure to look for any visible damage, sharp objects or splits that may need to be repaired. After you have checked the tyre, move onto the wheel itself, ensuring it is tightly secured without any room to wiggle about. Giving the wheel a spin is a good idea, as you can make sure it isn’t rubbing against the brake or any other parts of your bike that would slow it down. Next up you should check your derailleur and ensure nothing is loose or fraying in the mechanism or cables.

Next up is the freewheel/cassette, which you should make sure is clear and not blocked by anything before moving along to check the drivechain. You can push the pedals backward in order to easily check there are no stiff links or cracks in your chain. As long as it is moving smoothly, you should be all good! Now we can move up to the rear brake of the bike which is deeply important to test, as riding a bike without brakes is a disaster waiting to happen. Once you’re sure your brake is working properly and is tightly secured, you can check your seatpost, clamp and the saddle itself. You want to make sure both your clamp and saddle are firmly secured and not moving about before you move down the seatpost to check your chainset and front mechanism. Once again check that it runs smoothly by pushing the pedals backwards, and check that everything is tight and that there is nothing blocking the chain. You don’t want there to be any side to side movement, and if there is then it will need tightening. Repeat the same process with the pedals themselves, making sure they are properly secured and not at risk of falling off.

Now, we can move on to the front of the bike, starting with checking that your front wheel and stem are nice and tight, and that your handlebar clamp bolts are too. You can easily check this by standing in front of the bike, holding the front wheel between your knees, and twisting the handlebars. If there is a lot of movement, you may need to tighten them with an allen key before doing the check again to make sure the problem has stopped. Then repeat this test with the headset. You can easily check this by gripping the head tube with one hand and squeezing down on the front brake with the other hand. This will help to steady the front of the bike, so that you can start shaking the headset to make sure it is firmly secured and there is no significant movement or rattling from the bearings.

Next up you need to ensure that the front brake is working properly. If the brake lever is pulling against the handlebar grip, it means that the brake cable needs adjusting. You can do this by loosening the brake cable anchor bolt, pulling the cable tighter until it is no longer pulling against the handlebar grip, and then tightening the anchor bolt again once you are sure the change has been made. You can easily check that the front brake is moving when you squeeze down on the brake lever, and if it isn’t moving then you need to turn the small adjuster screw on the stationary side until both sides are moving again. To make sure your brakes are fully working, try moving the bike forward and back when you are squeezing the brakes to make sure the tyres are being slowed properly.
Next, we go down to the front wheel, checking the frame along the way for any cracks or damage. You should specifically be checking the point where the frame joins with the head tube for any visible damage, as you don’t want your headset to come flying off or anything like that. Finally, you can check your front wheel, repeating the same checks you did with the rear wheel to ensure it is tightly secured in place without any side to side movement. You should also remember to check the tyre pressure and see if there is any visible damage like tears or sharp objects so you can patch it up before hitting the road. After this, you have successfully completed the M check!

Remember to never underestimate how important it is to make sure your bike is in proper road safe condition before taking it out. If something is wrong it is not only a danger to yourself but to other cyclists and motorists. The last thing you want to happen is causing a crash on the road, so always keep in mind this check is not only for your own safety, but for the safety of everyone else too.
Thanks to Gary for presenting the M-Check. If you need Gary's expertise you can reach him at https://cycle-mechanic.co.uk and he is available for call outs in the Norfolk area.
Remember, you don't have to do this check every time you go cycling but it's good to perform it regularly to give you peace of mind. If you ride regularly then performing the check a few times a month is recommended, but if you think there’s something wrong with your bike then you should give it a proper check ASAP. If you’re still struggling to perform an M check or you have any questions, you can reach us using the comments below.