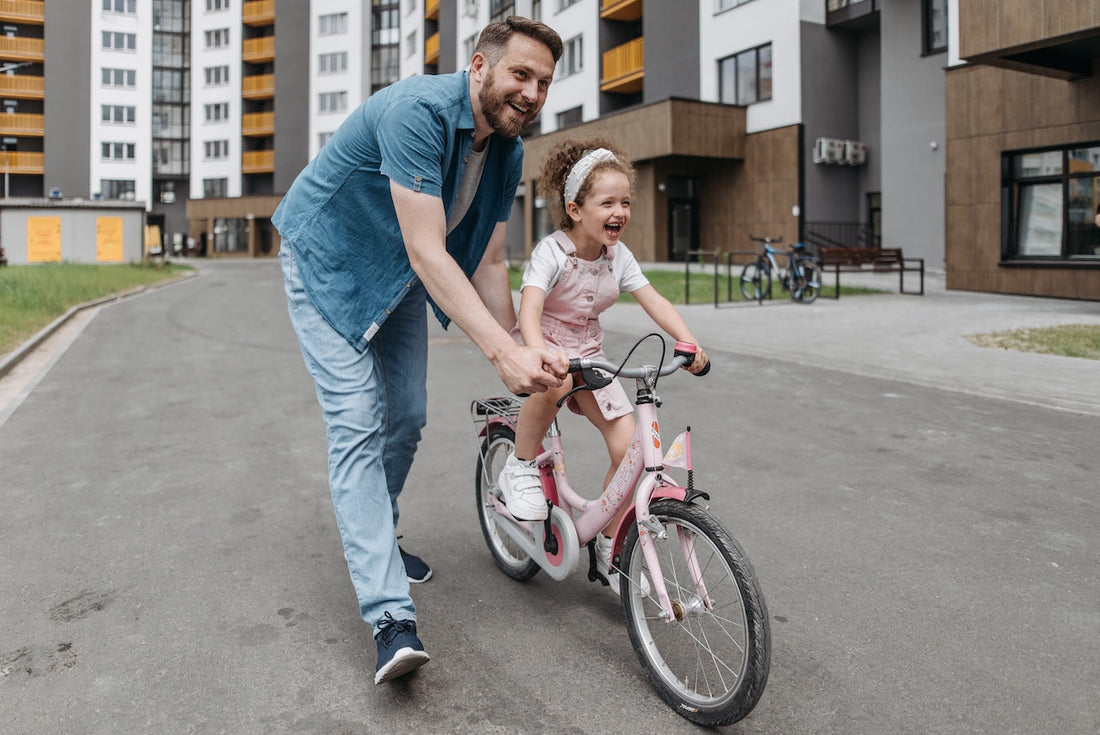
Setting up a child's bike correctly is crucial for ensuring their safety and comfort on the road. A properly adjusted bike not only boosts your child's confidence but also enhances their riding experience, making cycling enjoyable. Whether you've just bought a new bike or adjusting an old one, this guide will walk you through the essential steps of setting up a children's bike, covering aspects such as saddle adjustments, brake settings, handlebar positioning, and more.
Why Proper Setup Matters
Safety is paramount when it comes to children, and a correctly adjusted bike reduces the risk of accidents caused by mechanical malfunctions. Furthermore, kids are more likely to enjoy their rides and stick to biking if they're comfortable on their bicycle. Properly set-up bikes also boost a child’s confidence by ensuring they feel in control while riding.
Setting Up the Saddle
To adjust the seat height, have the child sit on the saddle. They should be able to touch the ground with the balls of both feet while keeping a slight bend in the knees. Once this is achieved, ensure that when the child's leg is at the bottom pedal stroke, there's a slight bend in the knee. For most kids, a level saddle works best, providing a balanced seating position. It's essential to ensure the saddle's nose isn't tilted too far up or down, as this can cause discomfort.
The right saddle setup can significantly impact a child's comfort and riding efficiency. Here's how to go about it:
-
Seat Height:
- First, have the child sit on the bike with their feet flat on the ground.
- Next, raise the saddle about an inch, which will allow their heels to lift slightly off the ground while remaining seated.
-
Seat Angle:
- Make sure the top of the saddle is level to the ground.
- If adjustments are needed, use an Allen key or a standard nut/bolt located on one side of the saddle, and gently tilt it until it's level. Your Rehook Plus, the definitive multi-tool, will be perfect for this task.
With the saddle correctly adjusted, your child is set for a comfortable and confident ride!
Adjusting the Brakes
Brake levers should be within easy reach of your child’s fingers for quick response times. The tension of the brakes is equally critical; when pressed, the brakes should respond effectively but not snap too tight. If they're too loose, they might not provide the needed stopping power. Parents should also regularly inspect brake pads for wear to ensure effective braking.
Adjusting Brake Levers: Begin by loosening the barrel adjuster on the cable where it enters the brake lever. Use an Allen key or Philips head screwdriver to adjust the 'stopper' so that the lever is close enough to the bars for the child to grasp easily. Again, both of these tools can be found in your compact Rehook Plus.
Adjusting Brake Pads: Aim for a small gap of about 2-3mm between the brake pads and wheel rims. Adjustments can be made by turning the barrel adjuster found near the brake lever, near the caliper, or along the brake cable, which effectively shortens or lengthens the outer casing of the cable, moving the pads closer to or further from the wheel rim.
Wheel Rim Adjustments
It's vital to ensure the wheels are true, meaning they don't wobble side-to-side. If they do, they need adjustment or repair. Additionally, tire pressure should be checked and maintained at recommended levels. Proper inflation not only provides better control but also reduces the risk of punctures.
Handlebar Adjustments
The height of the handlebars is essential for a comfortable ride. For younger kids, the handlebars should be at the same height or slightly above the saddle, giving an upright riding position. As kids grow and become more confident riders, the handlebars can be adjusted lower for a more aerodynamic position. Handlebar grips need to be secure because a loose grip can cause the child to lose control.
Correct positioning of handlebars is crucial for easier steering and balance. Handlebars should be adjusted such that they are straight up from the stem, allowing the child to sit upright on the saddle with their arms slightly bent. The grips should be central over the front wheel to prevent steering issues or the risk of tipping over. Handlebar height can be adjusted by raising or lowering the stem to ensure the child isn't reaching too high or low, promoting a relaxed and slightly downward arm position for comfortable steering and better control over the bike.
Other Considerations
All bolts and fastenings on the bike should be checked regularly to ensure they remain tight and secure. Reflectors need to be in place and unobstructed to ensure maximum visibility in low light conditions.
Chain Adjustment and Maintenance
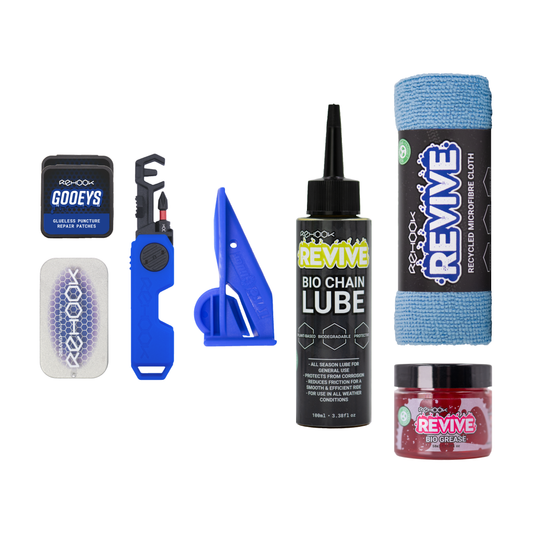
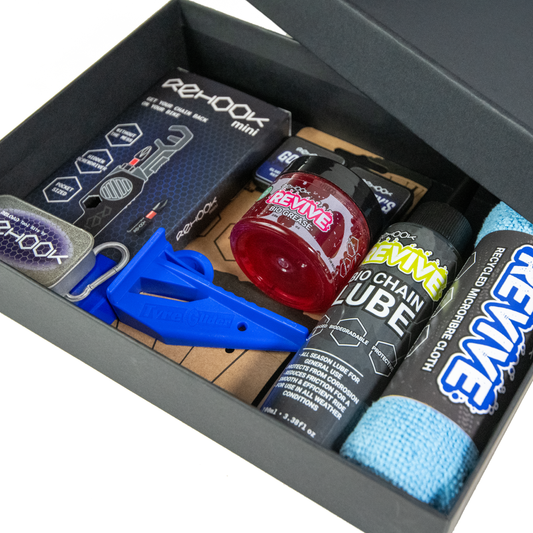
For a smooth ride, the bike chain should be properly adjusted and maintained. Ensure the chain has a snug fit, engaging well with the gears but not too tight to avoid excessive wear. Maintenance involves regular checks for proper tension, and cleaning to remove dirt and grime, ensuring optimal performance. A well-maintained chain enhances the riding experience, ensuring the bike operates smoothly and safely. If the bike is equipped with gears, it's a good idea to practice shifting with your child to ensure they're comfortable, and the gears shift smoothly. It is also a good idea to teach your child basic chain maintenance, including how to refit a dropped chain. Our Rehook tools are perfect for this as they prevent mucky hands or trapped young fingers. Our original tool only weighs 20g and easily attached to your child's bike, meaning it is always there when they need it.
Conclusion
Properly setting up your child's bike is an investment in their safety, comfort, and overall enjoyment. With regular checks and maintenance, countless hours of happy and safe riding await your child. Always encourage them to wear a helmet and use protective gear, no matter how short the ride. Happy biking!
