Rehook RESILIENCE
Adjusting The Straps
Snug Fit
Adjusting Your Visor
Working Your Lights
Looking After Your New Helmet
Ride Safely And Enjoy!
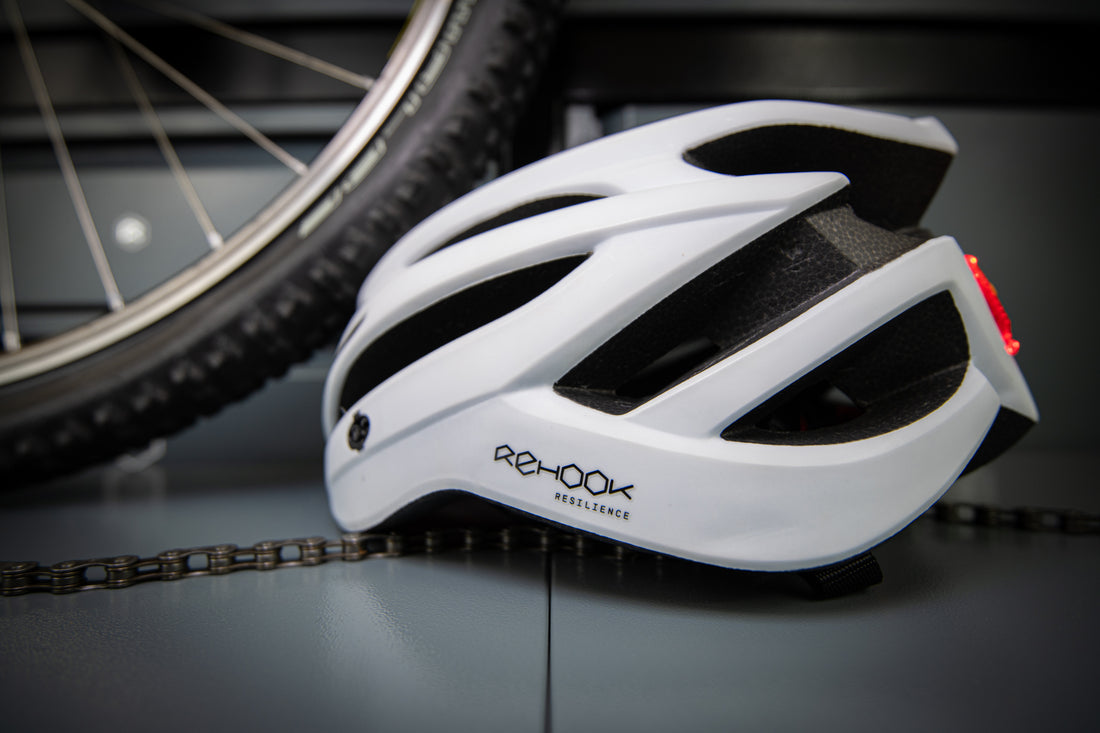
Rehook RESILIENCE
Rehook RESILIENCE is a high comfort, size adjustable safety helmet, designed for all cyclists. This guide will show you how to properly wear and look after your new helmet. Be sure to check the owner’s manual or this guide to familiarise yourself before using Rehook RESILIENCE, to ensure you are wearing it correctly. You can also check our video guide for Rehook RESILIENCE right here:

Adjusting The Straps
Rehook RESILIENCE uses a quick release buckle that can be used to take on and off your helmet with ease.
To tighten the chin strap, hold the buckle with one hand and pull the excess strap in through.
To tighten the rear strap pull excess from the rear of the strap.
Hold the helmet with one hand, with the other hand, hold the strap where they pass under your chin, then pull from side to side to level the length of all straps.

Snug Fit
The helmet must sit firmly and level on your head without rolling forward or backwards.It should not be possible to remove the helmet without unbuckling first.
To check you have adjusted the helmet correctly, when it is fastened, move your mouth open and closed and should feel the straps pull on your chin.
You can also attempt to pull the helmet off from the front and rear, if it comes off, you need to tighten the tension strap.
Adjust the sizing around the head by turning the adjustable ratchet fitting clockwise to tighten and anti-clockwise to loosen.
Please check the adjustments before riding each time.

Adjusting Your Visor
Your visor is attached to your helmet via two connection points on either side of the front.
To disconnect and reconnect the visor, simply pull/push the rounded balls in the corresponding slots one at a time and they will pop in/out.
From there, the visor can be adjusted to a comfortable position
Working Your Lights
Before using your lights for the first time make sure to remove the plastic tag at the top of the device to enable the batteries.
To turn on the built in lights on the back of your helmet, simply press down on the button in the middle of the reflector to switch between the modes.
Starting from off, one press will set the lights to rapidly flash, two presses set the lights to flash steadily, and three presses will set the lights to solid.
If you need to remove the lights to replace the battery, simply push the triangular red reflector out from the inside and unscrew the casing.
Looking After Your New Helmet
When not using Rehook RESILIENCE, be sure to keep it stored in a safe place. Your helmet comes with a reusable storage bag that can be used to help keep it clean and dry.
Exposing your helmet to extreme temperatures or solvents such as spray paint may ruin the structural integrity of the helmet and make it unsafe for wear.
Attaching objects to your helmet may also put you at risk as this creates stress points that can make the helmet unsafe in the event of a crash.
When washing the helmet the inner lining may be removed for individual washing as it is attached with Velcro. Use warm water and soap, letting it air dry properly so that the foam does not absorb water.
If your helmet is ever damaged, do not try to repair it but instead replace it.
Ride Safely And Enjoy!
Now that you properly understand how to safely adjust and use Rehook RESILIENCE, you're ready to hit the road and try it out.
If you have any further questions or queries about your new helmet, feel free to contact us at hello@rehook.bike