Puncture repair
Step 1 - Sand
Step 2 - Peel
Step 3 - Stick
FAQ:

Puncture repair
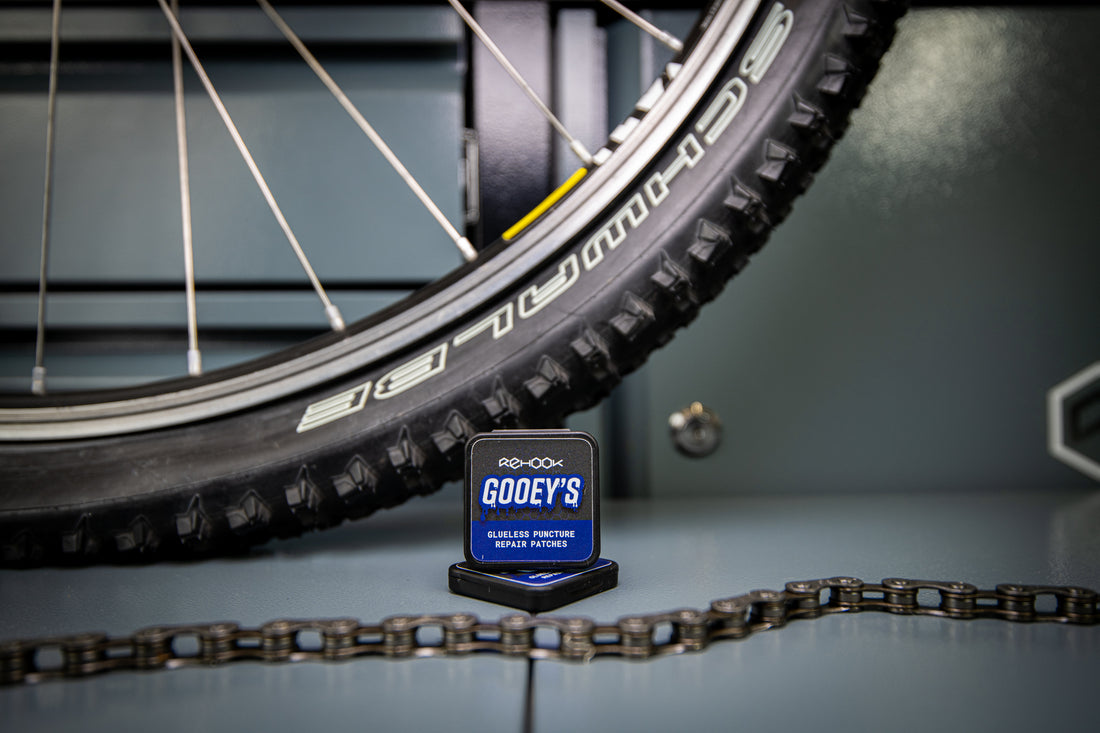
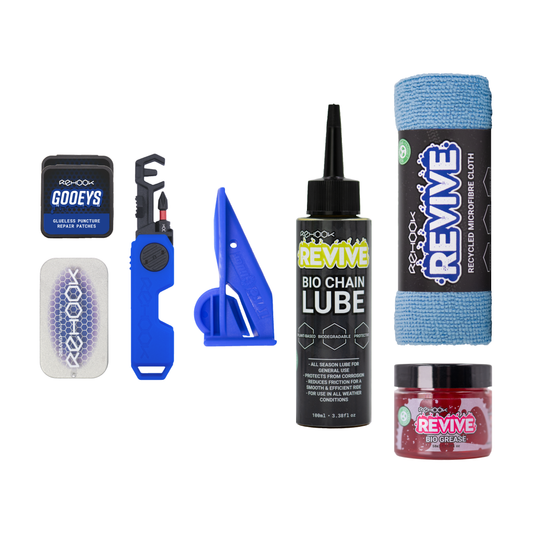
Gooey Puncture Repair patches are ideal for all bicycle inner tubes. They're small, lightweight and flexible. They do not require any glue, so they're much easier to apply in any circumstance. We have made a video on how to use them that you can watch right here, and if you're still unsure you can follow our step by step guide below.
Follow these easy steps for best instant results

Step 1 - Sand
Use the sand paper supplied to rub over the puncture hole in the inner tube. This will ensure the surface is 'keyed', which means it is free from dirt and grime, and a good surface for the patch to stick to.

Step 2 - Peel
Remove one of the Gooeys patches from the backing. You will have six of these in the pack.
Hint: Avoid touching the sticky side too much so grease or dirt doesn't effect the adhesive qualities.

Step 3 - Stick & Hold For One Minute
Place the patch over the puncture hole, ensuring the hole is in the middle of the patch. Hold as firmly as possible for at least one minute. Do not let the patch slip away from the hole.
Hint: Set a timer on your phone or watch if you have one. Also, to keep even pressure, try using two fingers against the palm of your hand, with the tube in between.

Now the patch is applied correctly, the tube can be placed back into the tyre and inflated.
FAQ:
Question: How long does each patch last?
Answer: Each patch will last as long as the inner tube itself, if applied correctly.
Question: What if I lose my sandpaper?
Answer: You can use a variety of other sandpaper with grit between 100-300.
Question: Which bikes can these be used on?
Answer: Rehook Gooeys are designed to work with any bicycle with inner tubes. This could be very narrow racing inner tubes, or chunky mountain bike inner tubes. These can be any type of bike, including e-bikes, Brompton's, road, MTB, hybrid, gravel etc. They cannot be used on tubeless tyres.
For any further questions you can reach us at hello@rehook.bike
